Shop our Store!
Specially designed personal &
household items you’ll love.

Shop our Store!
Specially designed personal & household items you’ll love.
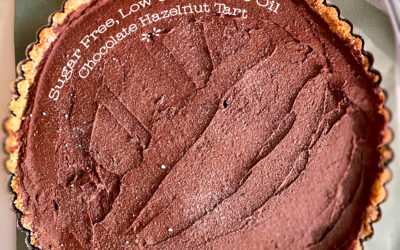
Sugar-Free, Low-Carb, Olive Oil Chocolate Hazelnut Tart
Hubby and I have moved to a Mediterranean Diet for our New Year's Resolution. We definitely are feeling better since we cut out sugar and saturated fats. Treats though are always a challenge to find-especially ones that actually taste good. Add a night where you need...
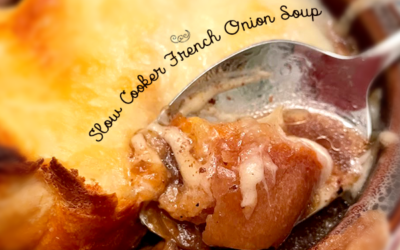
Easy Slow Cooker French Onion Soup
I found this recipe in an old Farmer's Almanac, and it looked SO EASY. But also, it looked off. It was using Parmesan versus Gruyere. It used chicken bullion versus beef. It also was missing beef completely. So I turned up the French, the flavor, and the heartiness....
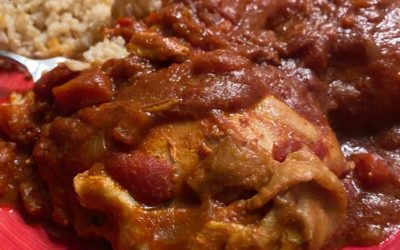
Recipe: Chicken Vindaloo with Whole Foods Vindaloo Curry Powder
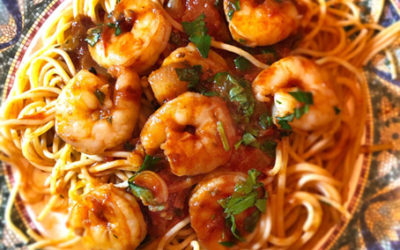
Recipe: Shrimp Linguini Al Napoli
We had a similar wonderful dish in Naples on our first trip to Italy with my parents, with shrimp and pasta. My husband, Rich wanted to make a version of it at home in the states. After some trial and error, this recipe comes pretty close. Now if only we could have...
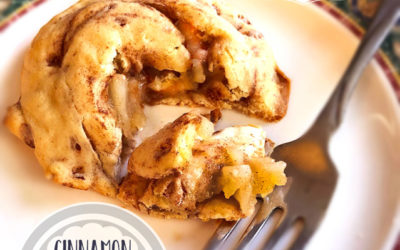
Cinnamon Roll Apple Hand Pies
When refrigerated cinnamon roll dough is on sale at the grocery store, I stock up! Beyond cinnamon rolls, the dough can be made into all kinds of last-minute treats and desserts like large pies, tarts, bread, and small hand pies. I love emptying out my crisper drawer...
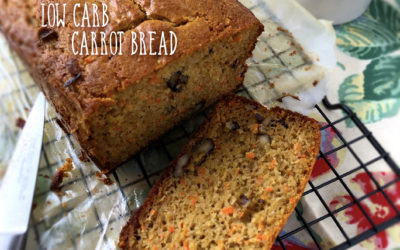
Low Carb Carrot Spice Bread
30 days until spring. That means all these COVID pounds need to start melting off because hopefully, many of us will be vaccinated and we can resume semi-normal activities this summer! But holy-moly, sitting at home for a year has not been kind to the body. Trying to...
MEET FLORA
the urban domestic diva
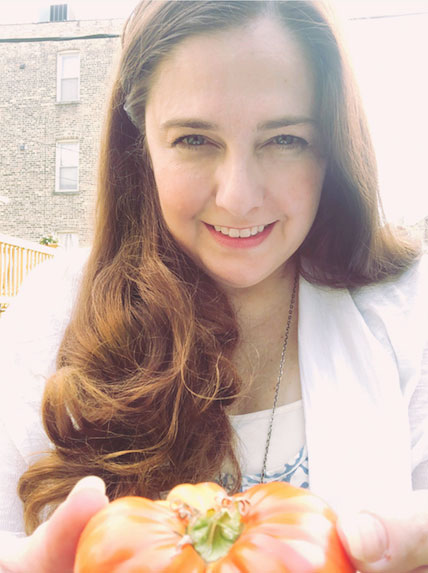
FLORA CAPUTO
Blogger extraordinaire, author, designer, crafter, baker, cook and slowly beautifying our world one pixel at a time.
Feel free to contact me on social media or through the contact form.

![]()


The Martha Stewart for Todays Generation.
The Urban Domestic Diva lives in many of us. And my blog and connected social spaces are a place where I hope to inspire others by sharing ideas around home and hearth. My hope is that we can all live creatively abundant lives while balancing all the other demands being put on us daily. Posts and discussions range from recipes and cooking tips for entertaining, seasonal cooking, healthy cooking, gardening tips and propagation of native plants, cottage-chic or shabby-chic crafting, upcycling and other home ideas.
UDD is also a creative powerhouse for creating products like Cottage chic decor and home goods, Shabby-chic clothing, decorative personal items, gardening decorative items, wall art and many more items to beautify your home and life.
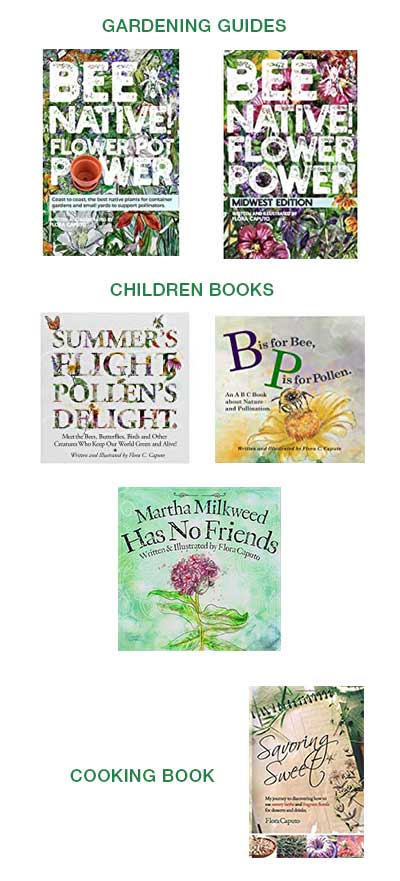
Author of Cooking and Gardening Books : Bee Advocacy, Pollinator advocacy, Gardening Tips, Native Plant Gardening
… And Like many working moms, I’m just trying to do it all while making sure we have clean socks for the week!
 Loading...


Join Our Tribe!
Sign up and get updates, offers and special content.